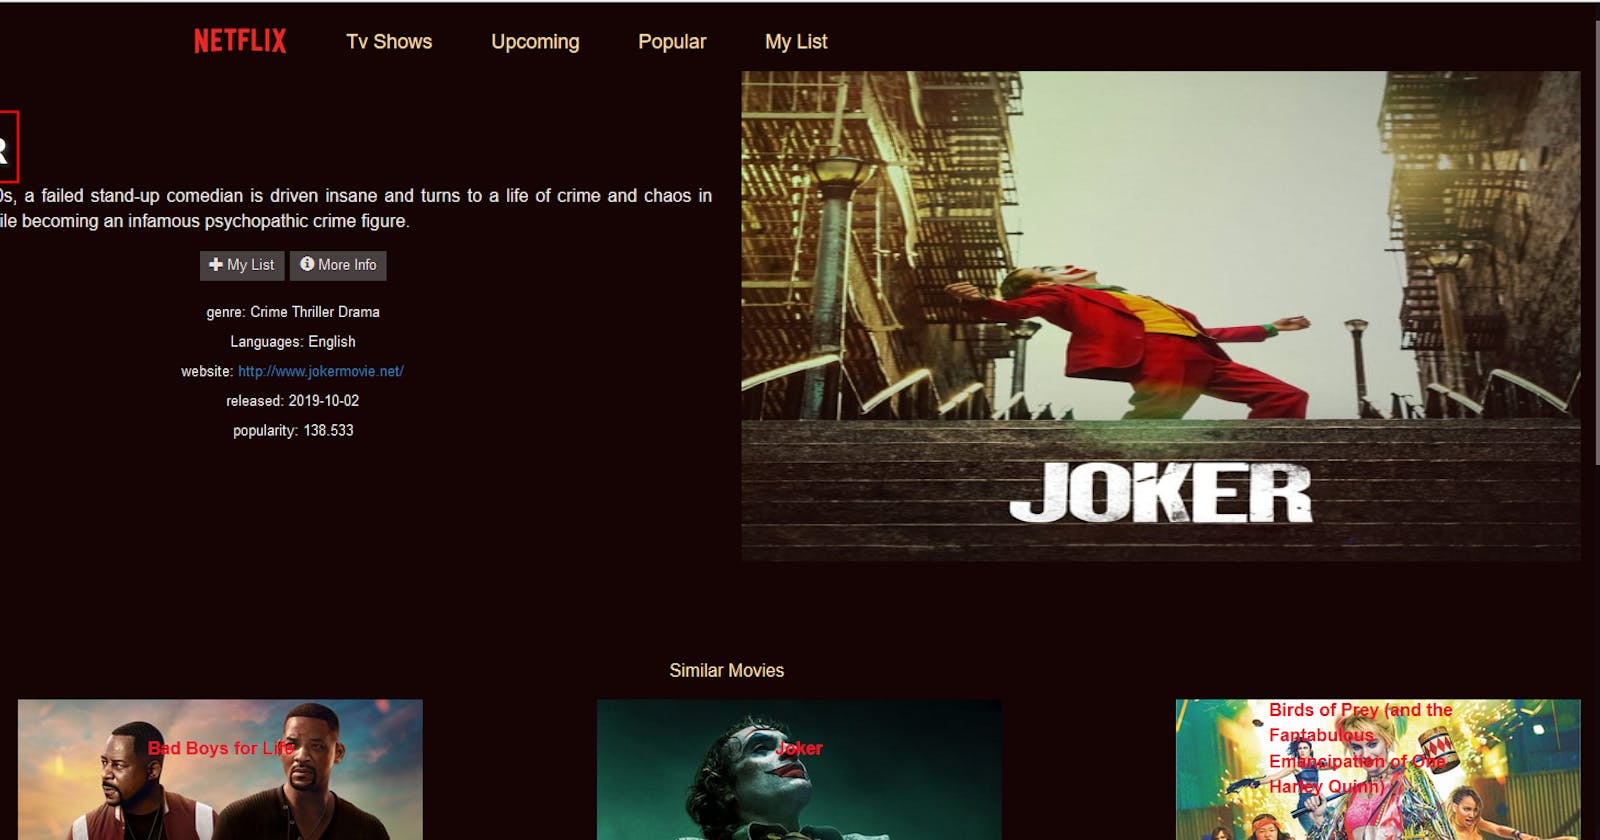


In this post, we will build and deploy a Netflix-like web app to netlify using angular, bootstrap and TMDB API. the full code will be available after the series has been completed. if you are entirely new to angular or looking to brush up your angular skills then this post is for you as i will try as much as possible to explain what we are doing in simple terms.
Install Visual Studio Code
we will be using visual studio code as our code editor. if you don't have visual studio code installed, you can download it from here VsCode .
However, you can use any code editor of your choice if it has support for the command-line interface or uses it along with cmd in windows or terminal in Linux and macOS.
Setup Node.js
Once VsCode have been installed, next is to download and install node from NodeJs .
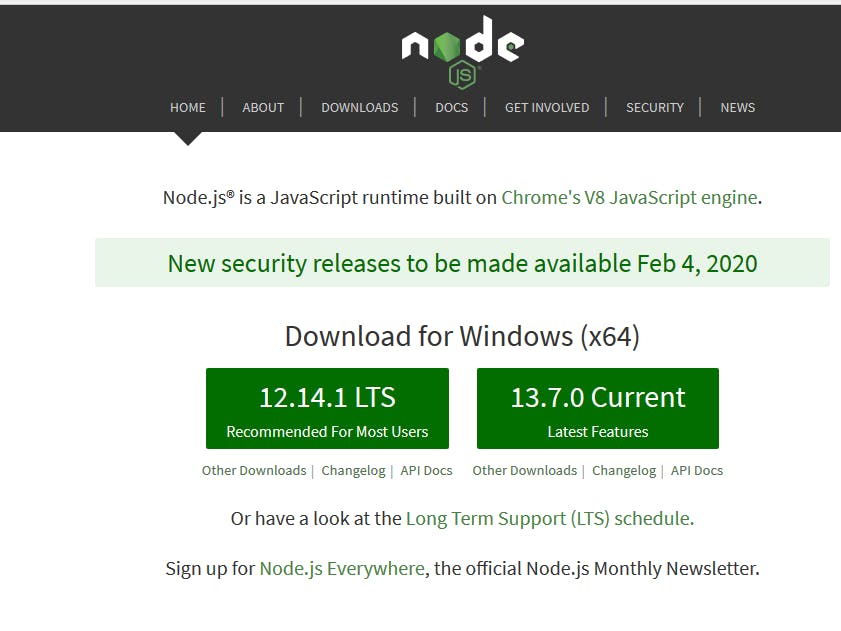
Node.js is an open-source, cross-platform, JavaScript runtime environment that executes JavaScript code outside of a browser it comes with a package manager NPM which installs and manages packages listed in package.json file. we will discuss more on package.json as we progress. After installation open visual studio code and click terminal from the menu bar or open cmd in windows or terminal in Linux and macOS type:
node -v
the node version will be displayed as shown below

Install Angular
Now that we have successfully installed node,the next step is to install angular using node package manager NPM. still, on your terminal type the following command to install angular.
npm install -g @angular/cli
-g makes the installation global, making it accessible from any directory in the system.
After the installation is complete, open up your terminal and navigate to the preferred directory using cd command. example:
cd [directory-name]
where directory-name is the name of your directory.
Before we continue let's take a rundown of the angular cli commands we will be using frequently.
ng new
creates an application template that already works, right out of the box. It follows angular best practices!.
ng generate
Generates components, routes, services and pipes. The CLI will also create simple test shells for all of these. example
ng generate component <component-name>
ng serve
Easily test your app locally while developing
type the following command to create a new angular app. we will name our app mini-flix.
ng new mini-flix
follow the prompt instruction to complete the installation.
Finally, run
ng serve
after the app has been successfully compiled as indicated in the terminal.

navigate to localhost:4200** in your browser to see our new app.
Understanding the angular structure
Next, let's take a rundown on the files and folders in our project folder.
Workspace configuration files
.editorconfig: Configuration for code editors.
.gitignore : Specifies intentionally untracked files that Git should ignore.
README.md : Introductory documentation for the root app.
angular.json : CLI configuration defaults for all projects in the workspace, including configuration options for the build, serve, and test tools that the CLI uses, such as TSLint, Karma, and Protractor.
package.json : Configures npm package dependencies that are available to all projects in the workspace.
package-lock.json: Provides version information for all packages installed into node_modules by the npm client. If you use the yarn client, this file will be yarn.lock instead.
src/: Source files for the root-level application project.
node_modules/ : Provides npm packages to the entire workspace. Workspace-wide node_modules dependencies are visible to all projects.
tsconfig.json: Default TypeScript configuration for projects in the workspace.
tslint.json : Default TSLint configuration for projects in the workspace.
###Application Project Files Files at the top level of src/ support testing and running your application
app/ : Contains the component files in which your application logic and data are defined.
assets/ : Contains image and other asset files to be copied as-is when you build your application.
environments/ : Contains build configuration options for particular target environments. By default, there is an unnamed standard development environment and a production ("prod") environment. You can define additional target environment configurations.
favicon.ico: An icon to use for this application in the bookmark bar.
index.html : The main HTML page that is served when someone visits your site. The CLI automatically adds all JavaScript and CSS files when building your app, so you typically don't need to add any <script> or<link> tags here manually.
main.ts: The main entry point for your application. Compiles the application with the JIT compiler and bootstraps the application's root module (AppModule) to run in the browser. You can also use the AOT compiler without changing any code by appending the --aot flag to the CLI build and serve commands.
polyfills.ts : Provides polyfill scripts for browser support.
styles.sass : Lists CSS files that supply styles for a project. The extension reflects the style preprocessor you have configured for the project.
test.ts : The main entry point for your unit tests, with some Angular-specific configuration. You don't typically need to edit this file.
Inside the app folder, we have the following files and their functions
app/app.component.ts : Defines the logic for the app's root component, named AppComponent. The view associated with this root component becomes the root of the view hierarchy as you add components and services to your application.
app/app.component.html : Defines the HTML template associated with the root AppComponent.
app/app.component.css : Defines the base CSS stylesheet for the root AppComponent.
app/app.component.spec.ts: Defines a unit test for the root AppComponent.
app/app.module.ts: Defines the root module, named AppModule, that tells Angular how to assemble the application. Initially declares only the AppComponent. As you add more components to the app, they must be declared here.
Generate Our App Components
Next, we will go ahead to generate components we will use in our app. in case you are wondering what a component is. in simple terms, a component are small pieces or parts that combine together to make a big whole. in angular each component generated has a typescript file where the logic is, a HTML file for rendering the view, a CSS file for styling the component and a test file for testing. so an angular component on its own has everything it needs to function. Because of the functions our app will perform, we will need to generate 5 components as explained below.
home: the home component will be responsible for rendering the first view user sees as they visit. it will contain the list of current movies with their pictures and links to view the details of the movie in full.
movie-details: will show the full details of the current movie selected, including an option to add the movies to favorite movies list.
fav-movies: will render the movies in the favorite movie list, including options to remove a movie from the list or entirely clear the list.
similar-movies : will render similar movies list below the movie-details component by searching and formating movies similar to the one currently viewed from TMDB API.
nav: the navbar component will house links that will be used for easy navigation between components.
Alright, let's go-ahead to generate the components with the code below:
ng g c home
ng g c movie-details
ng g c fav-movies
ng g c similar-movies
ng g c nav
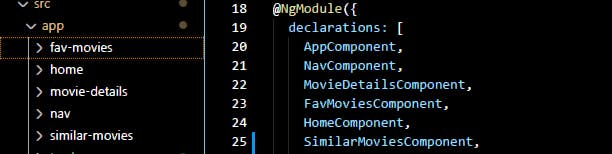
where g is short for generate and c short for component. if it where a service you will use s, we will come to that later.
If you look in the app folder you will see our components in their respective folders, and also they were automatically added to app.module.ts file great!.
In the next post we will start the real deal by writing code that builds our movie app. follow me on twitter to know when it's ready.